If you’re working on an Excel sheet that you need someone to confirm or agree to, you can now get them to sign it – and here’s how…
This is for anyone using Windows 10.
- Open your Excel sheet and go to the Insert tab.
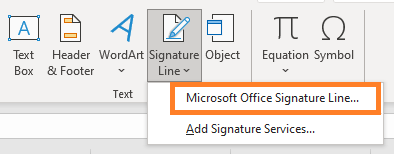
- On the right of the ribbon, in the ‘Text’ section, click Signature Line and then Microsoft Office Signature Line.
- A window will them pop up to allow you to customise:
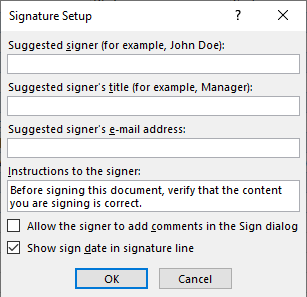
Suggested Signer: Enter the name of the person who will sign the document.
Suggested Signer’s Title: Enter the title or position of the person you expect to sign.
Suggested Signer’s Email Address: Enter the email address of the signer.
Instructions to the Signer: If you have special instructions, you can enter those here. You can also include details for verifying the information, confidentiality, or something similar.
Allow the Signer to Add Comments in the Sign Dialog Box: Check the box to include this option if you want to allow notes, or you can ask them to leave some in the Instructions to Signer area.
Show Sign Date in Signature Line: It’s common to include the date on which you sign a document, so you should definitely consider checking the box to include this.
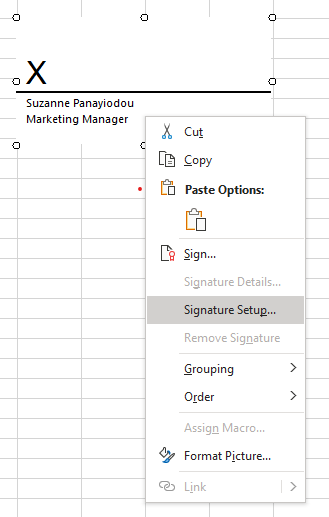
- Once you’ve filled in the information, click OK to insert the signature line. It can be moved by simply dragging it to the desired area, and you can also make it smaller or larger by dragging the corner of the box.

- If you want to edit the signature once you’ve inserted it, simple right-click on the signature box and choose Signature set-up – and make your desired changes.
Now you can save your document and email it to the recipient to be signed.